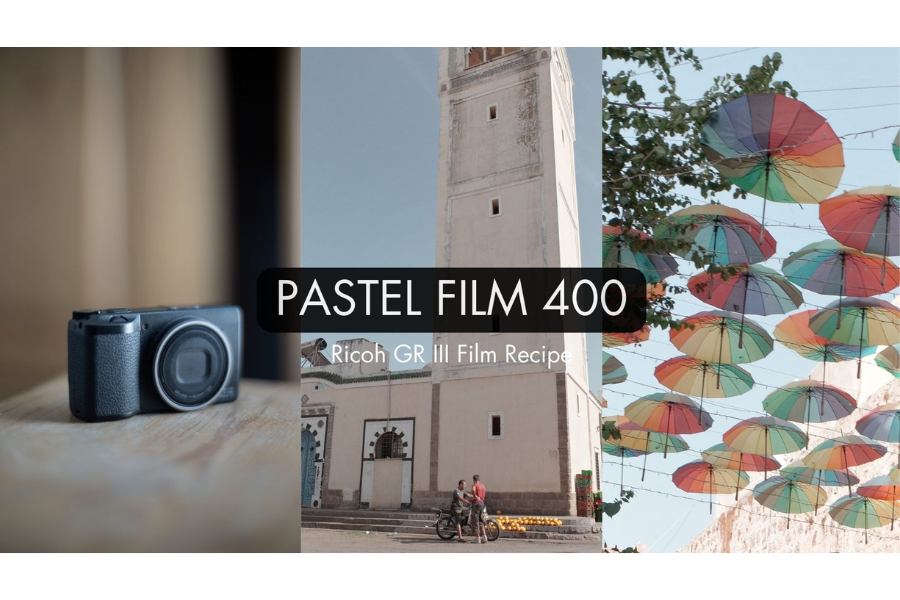
Alright, let’s talk about something I messed around with recently – those film recipes for the Ricoh GR III. I’ve been snapping pics with this little camera for a while now, and I gotta say, it’s a neat piece of equipment. But you know, sometimes you just want that old-school film look without actually shooting film, right? That’s where these recipes come in.
So, I went down this rabbit hole online, looking for ways to make my digital shots look like they were taken with some classic film stock. Turns out, there are these things called “film recipes” that people have put together. Basically, they’re just settings you can punch into your camera’s JPEG settings. Change the white balance here, tweak the saturation there, and boom – you’re supposed to get a look that mimics real film.
Digging into the Settings
First off, I found this one recipe called “Natural Analog” that someone made specifically for the GR III and GR IIIx. I copied down all the settings, which was a bit of a pain, but hey, I was committed. We’re talking white balance adjustments, saturation, hue, high/low key, contrast – the whole nine yards. I spent a good chunk of time fiddling with all these parameters, trying to get them exactly right in my camera’s menu.
- White Balance: Multi Auto
- Image Control: Standard
- Saturation: +1
- Hue: 0
- High/Low Key: +1
- Contrast: +3
- Contrast (Highlight): -4
- Contrast (Shadow): -2
- Sharpness: 0
- Shading: 0
- Clarity: +3
Putting it to the Test
Once I had everything set up, I took my GR III out for a spin. I went around my neighborhood, snapping photos of everyday stuff – you know, buildings, people walking by, some trees, the usual. I wanted to see if this “Natural Analog” recipe really lived up to its name.
After taking a bunch of shots, I dumped them onto my computer to see how they looked. Honestly, I was pretty impressed with some of them! They definitely had a different vibe than my usual digital photos. A bit more muted, a little grainy in a good way, kind of like those old photos you’d find in your grandparents’ albums.
But I have to admit, it wasn’t all sunshine and rainbows. Some photos looked a bit off, maybe too washed out or just not quite right. It made me realize that these recipes aren’t a one-size-fits-all solution. You really have to experiment and see what works best for different lighting conditions and subjects.
Experimenting Further
This whole experience got me thinking. If this “Natural Analog” recipe could change the look of my photos so much, what about other recipes? So, I went back online and found a whole bunch more. Some were supposed to look like Kodak Portra, others like Fuji Velvia, and some were just weird experimental stuff.
I’ve started playing around with a few of these other recipes, and it’s been pretty fun. Some of them are definitely not my style, but others have produced some really interesting results. It’s like having a bunch of different film stocks loaded into my camera, all at the flick of a switch.
Final Thoughts
So, yeah, that’s my little adventure with film recipes on the Ricoh GR III. It’s been a cool way to add some extra flavor to my photos without getting into the hassle of actual film photography. I’m definitely going to keep messing around with different recipes and see what else I can come up with. If you’ve got a GR III or even a different camera that lets you tweak JPEG settings, I’d say give these film recipes a try. You might be surprised at what you can create!
It’s not about being perfect, it’s about having fun and trying new stuff, right? That’s what photography is all about, at least for me. And who knows, maybe I’ll stumble upon some magical combination of settings that makes my photos look like they were taken by a pro. Or maybe not. Either way, it’s a journey, and I’m enjoying the ride.