Okay, so I’ve been messing around with this window film plotter thing, and let me tell you, it’s been a journey. I wanted to give my car windows a little tint, and I figured, “Hey, I can do this myself!” How hard could it be, right?
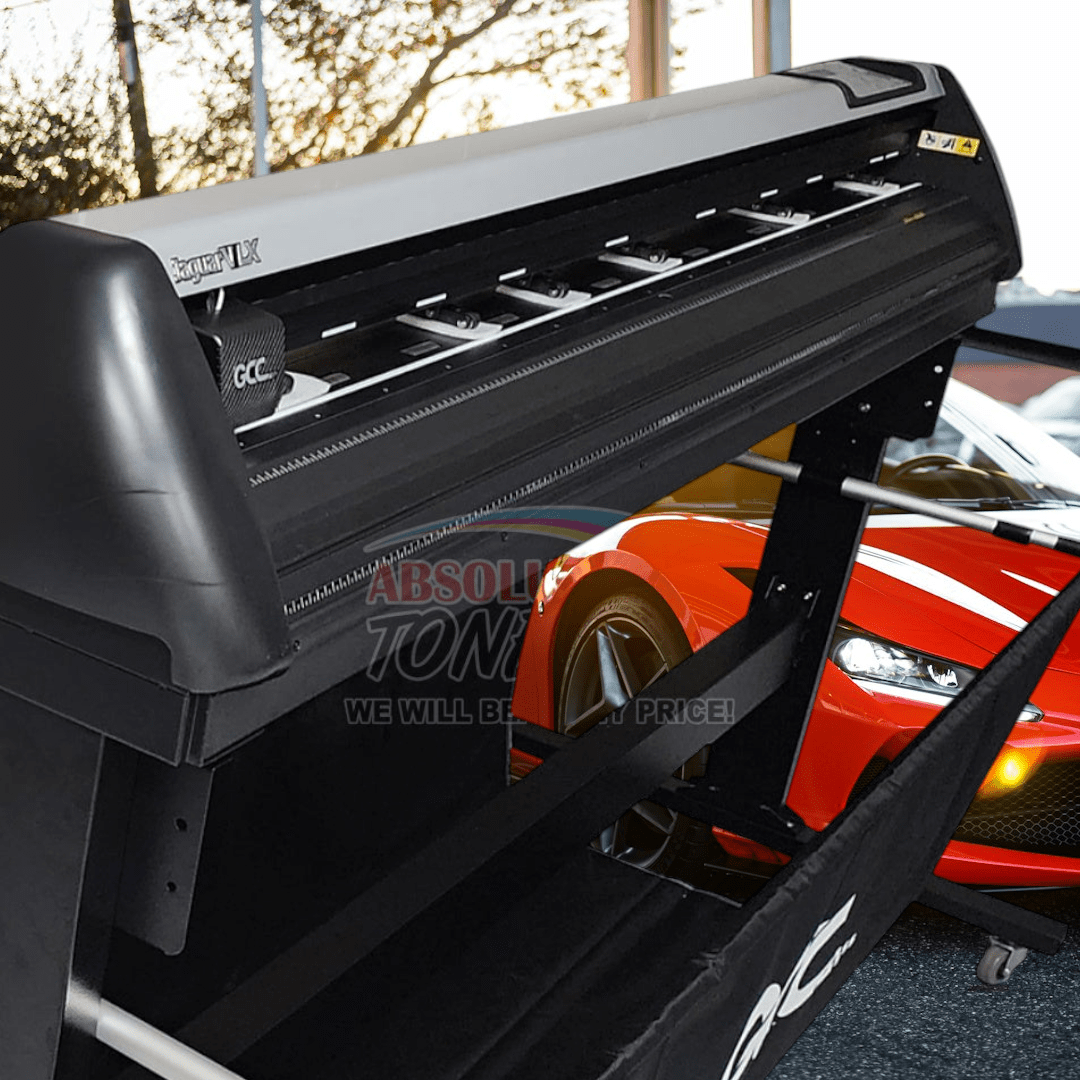
First things first, I got myself a plotter. I did some digging online and found a decent one that wouldn’t break the bank. It arrived, and I was all hyped up to get started. I unboxed it like a kid on Christmas morning, all excited to see what this baby could do.
The Learning Curve
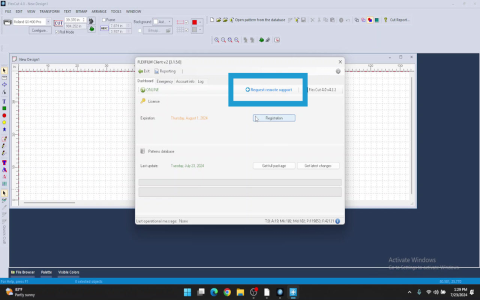
- Software Setup: This was the first hurdle. The plotter came with its own software, but it was kinda clunky. I spent a good few hours just figuring out how to import designs and get everything calibrated correctly. Lots of trial and error here, let me tell you.
- Test Cuts: Before I went anywhere near my car, I practiced on some scrap film. Thank goodness I did! My first few attempts were… well, let’s just say they weren’t pretty. Lines were all over the place, sizes were wrong, it was a mess.
- Figuring Out the Settings: The plotter has all these settings for blade depth, pressure, and speed. It took a while to dial everything in just right. Too much pressure, and you cut right through the backing. Too little, and the film doesn’t cut cleanly.
I slowly got the hang of it. I watched a bunch of YouTube videos (some helpful, some not so much). I read through the plotter’s manual (which, honestly, wasn’t the most user-friendly thing ever written). But eventually, I started getting some decent-looking cuts.
The Real Deal
Finally, I felt brave enough to tackle my car windows. I carefully measured everything (twice!), created my design in the software, and loaded the film into the plotter.
Holding my breath, I hit the “start” button. The plotter whirred to life, and I watched as the blade danced across the film, cutting out the shapes I needed. It was actually kinda mesmerizing.
The cutting part went pretty smoothly (thanks to all that practice!). The weeding part (removing the excess film) was a bit fiddly, but I took my time and managed to get it done without tearing anything.
The Results
Okay, so it’s not perfect. There are a few tiny imperfections here and there if you look really closely. But overall, I’m pretty darn proud of myself! I saved a bunch of money by doing it myself, and I learned a new skill along the way.
Would I do it again? Maybe. It was definitely a learning experience, and it took more time and effort than I initially thought. But hey, that’s DIY for you, right? It’s all about the process (and the bragging rights!).