So, I finally got around to putting some paint protection film on my bike. I’d been putting it off, but after that one nasty scratch from a low-hanging branch, I knew I had to do something. Better late than never, right?
Getting Started
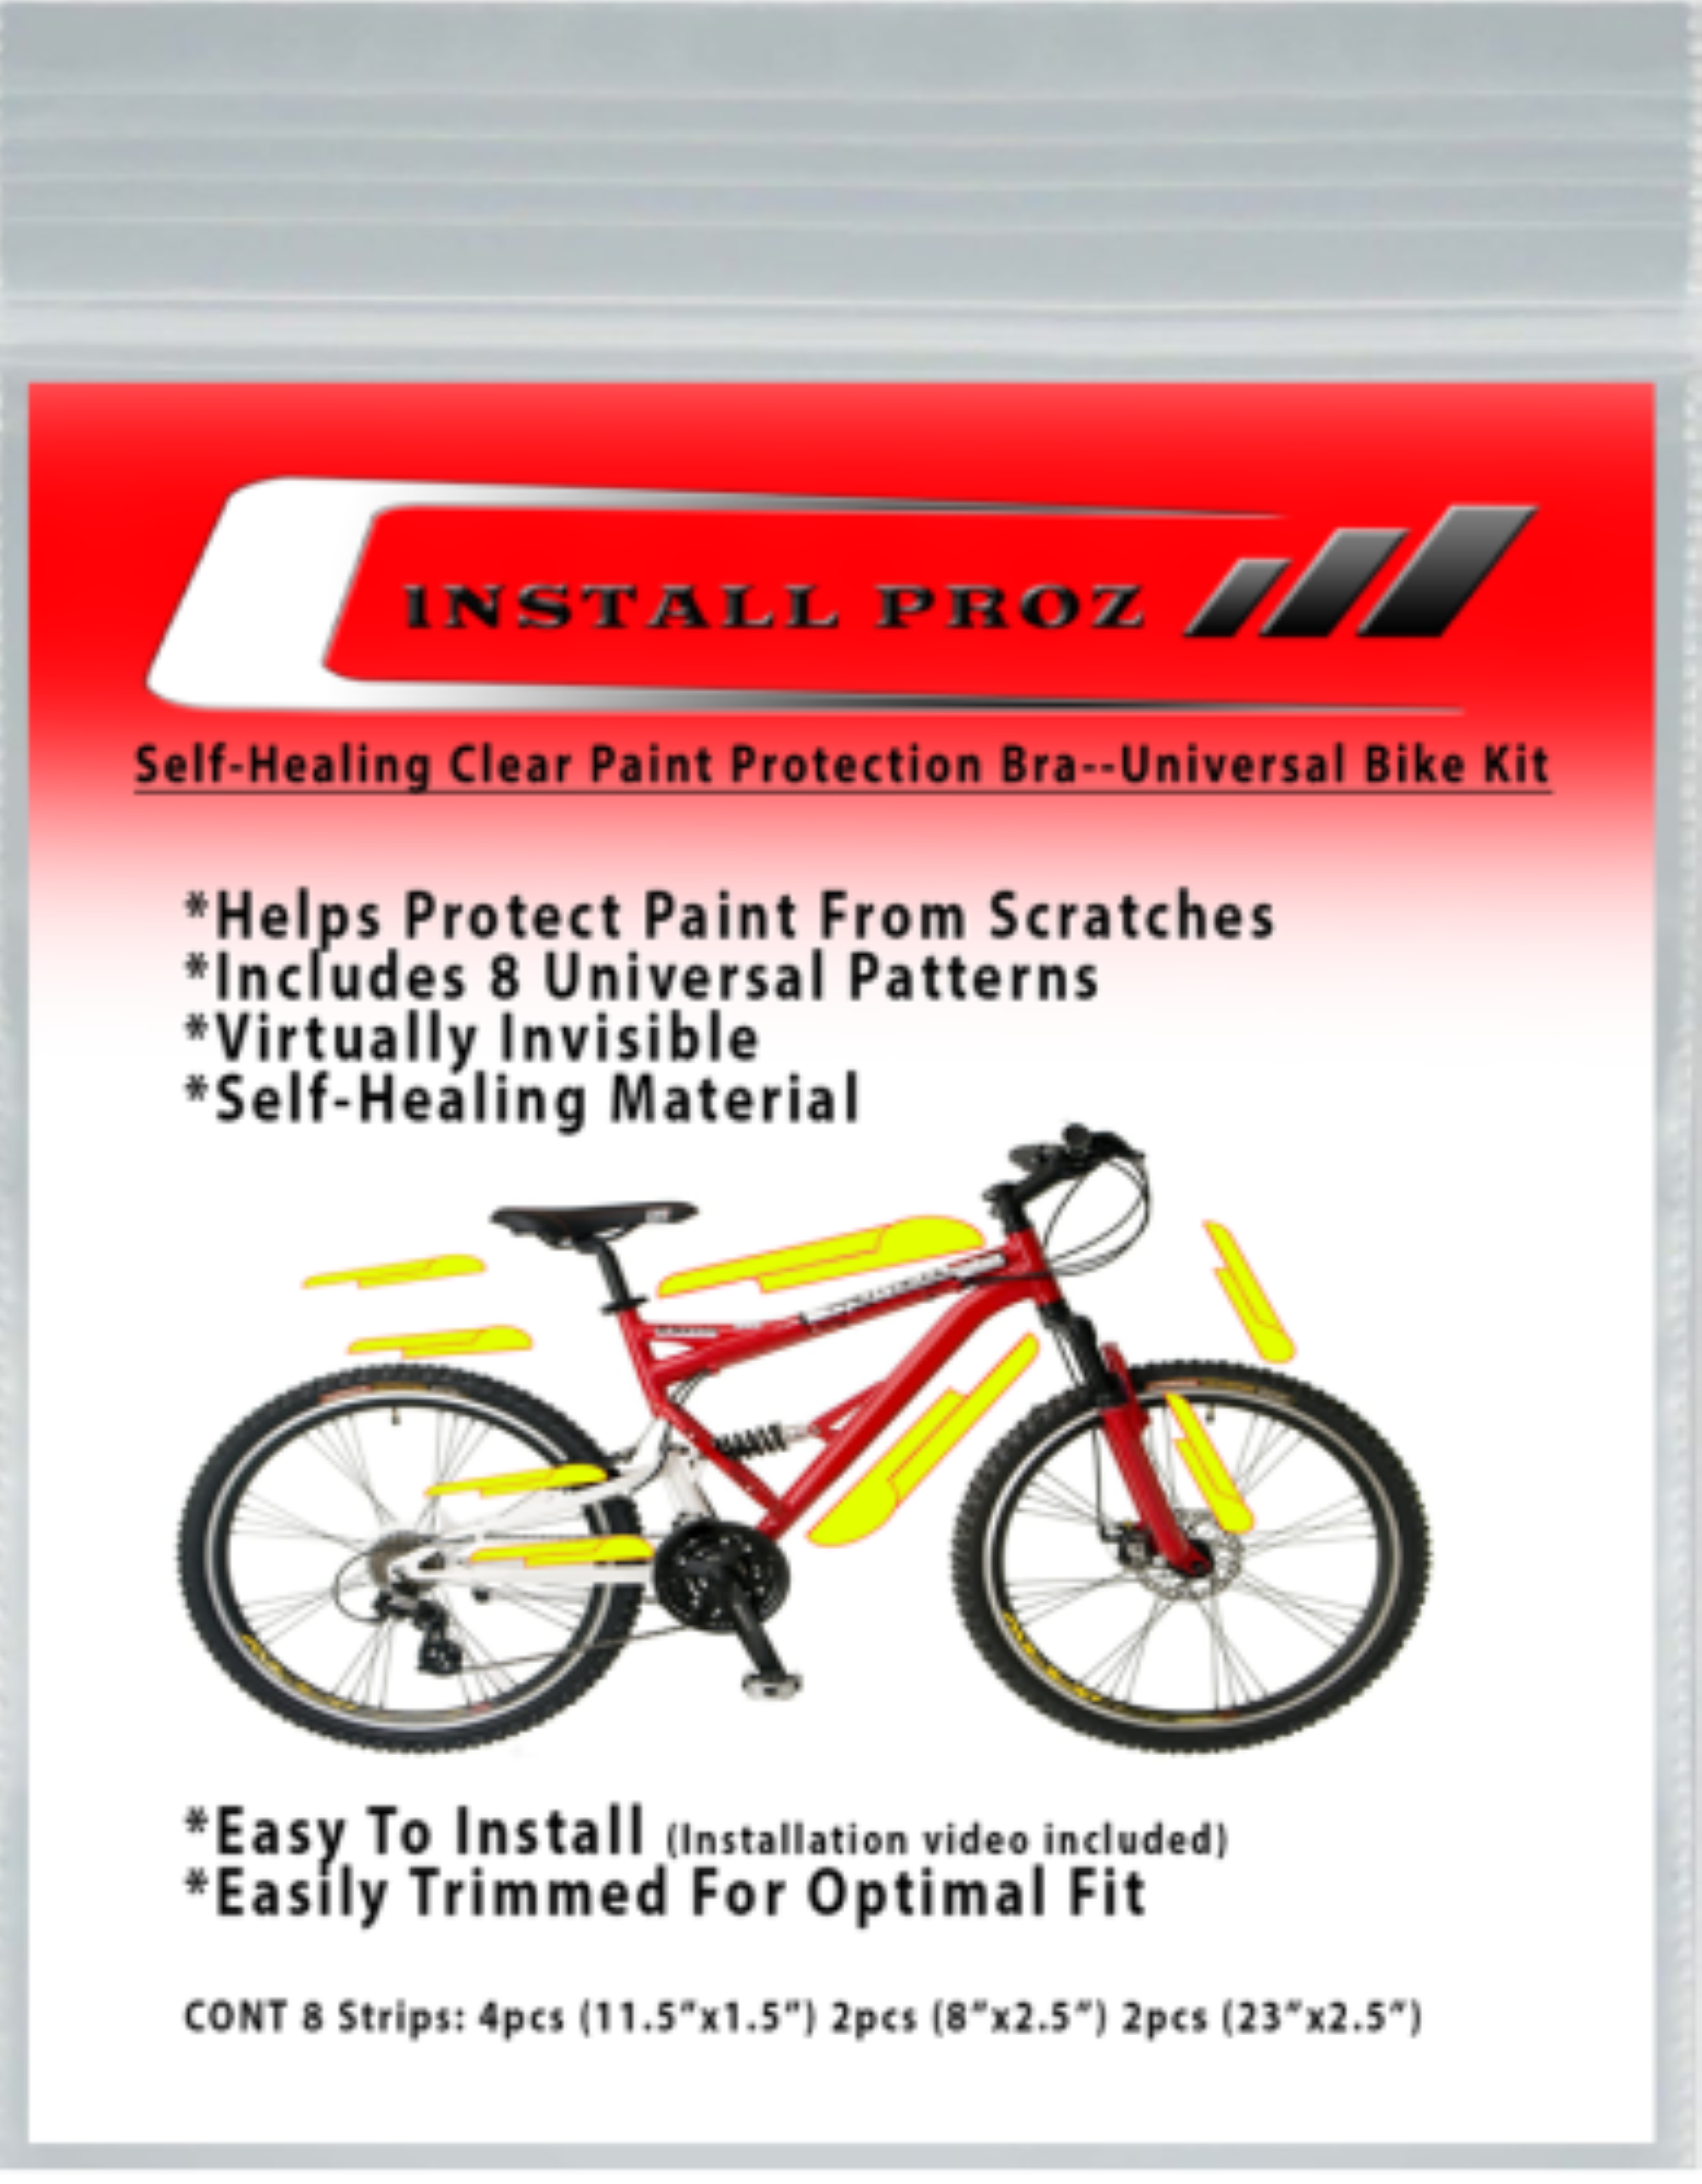
First things first, I needed the film. I did some looking around and ended up ordering a roll online – seemed easier than trying to find a specific shop that carried it. I also grabbed a little application kit that came with a spray bottle, a squeegee, and a tiny knife. Figured that would make things a little smoother.
The Prep Work
Before I even thought about touching the film, I gave my bike a good wash. I mean, really good. I used some dish soap and water, scrubbed every inch of the frame, rinsed it thoroughly, and then dried it with a microfiber towel. I wanted to make sure there was absolutely no dirt, dust, or grime that could get trapped under the film. That would just be a disaster.
Applying the Film
Okay, this was the tricky part. I mixed up some soapy water in the spray bottle – just a few drops of dish soap in a whole bottle of water. Then, I sprayed down the section of the frame where I was going to apply the film. I also sprayed the sticky side of the film itself. This soapy water is key; it lets you slide the film around and reposition it until it’s perfect.
I started with the top tube, since it seemed like the easiest, flattest surface. I peeled the backing off the film, carefully lined it up, and laid it down. Then came the squeegee. Starting from the center, I pushed out all the air bubbles and excess water. It took some patience, and I had to lift and reapply the film a few times to get it just right, but slowly and surely, it started to look good.
- Top Tube: Went on pretty smoothly, a good starting point.
- Down Tube: A bit trickier because of the curves, but manageable.
- Seat Stays: These were the most annoying! Lots of small, weird angles.
- Chain Stays: Similar to the seat stays, but I was getting the hang of it by then.
I used the knife to trim off any excess film around the edges, being super careful not to scratch the paint. Took my time with that, no rushing.
Finishing Touches
Once all the film was on, I went over everything one last time with the squeegee, making sure all the edges were sealed and there were no bubbles. Then, I let it dry completely. I think it looks much better, I can see how the film can protect my bike paint!
Honestly, it was a bit of a pain, especially those fiddly seat stays, but it’s worth it for the peace of mind. Now I don’t have to freak out every time I hear a twig snap near my bike!