Okay, so I saw this thing, a disposable film cutter, and I thought, “I gotta try making one myself!” I mean, who doesn’t love a good DIY project, right?
Getting Started
First, I gathered all the junk I needed. You know, the usual suspects:
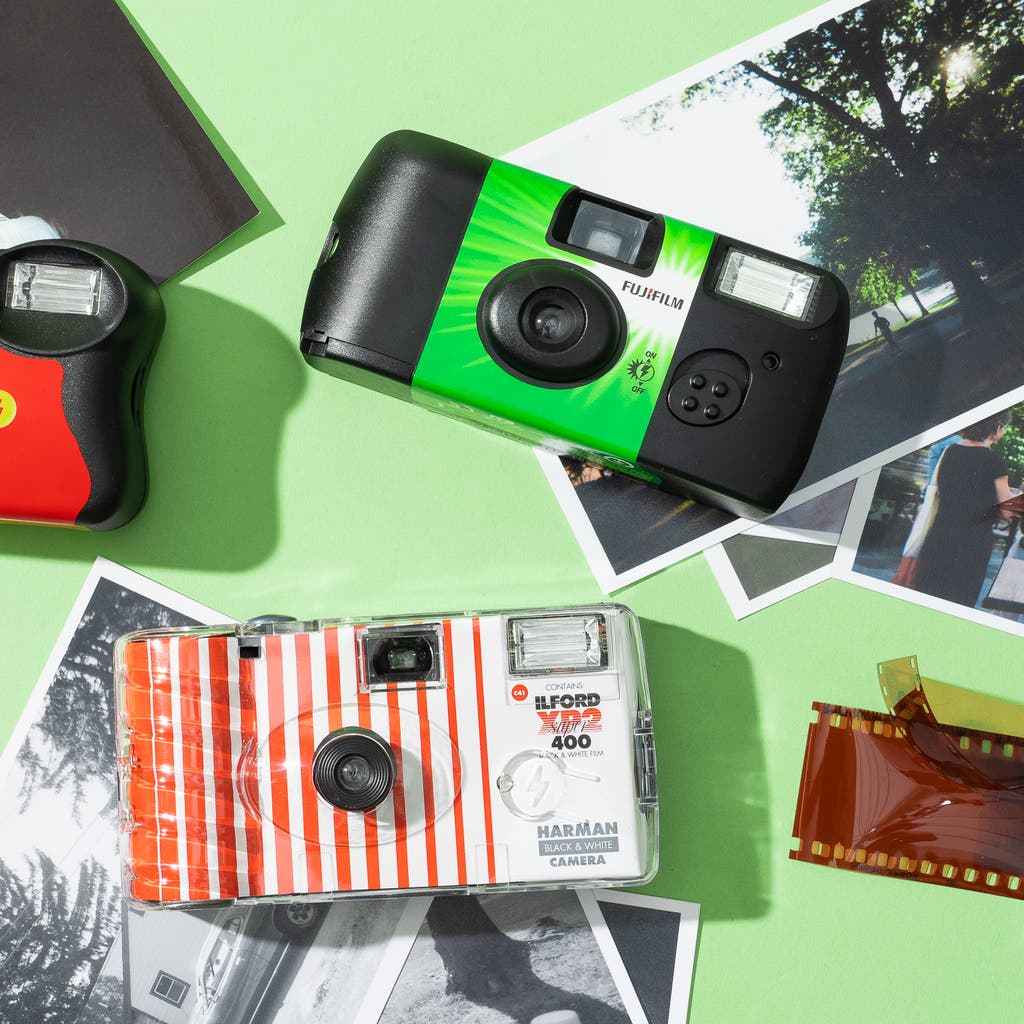
- An old, used-up disposable camera (the key ingredient!)
- A small, sharp craft knife – gotta be careful with this one!
- Some strong glue – I used the super-strength kind, just in case.
- A bit of sandpaper, for smoothing things out.
- Optional: some paint, that modify look.
The Process
I started by carefully prying open the disposable camera. This was trickier than I thought! Those things are built to last (or, you know, not be opened). I used the craft knife to gently work my way around the edges, being extra careful not to cut myself.
Once I got it open, I removed all the insides – the film (obviously), the battery, the flash mechanism, all that stuff. I just wanted the empty plastic casing.
Then, I carefully cut a slit along one side of the camera casing, long enough for the film to slide that I want to cut through. This is where the actual “cutting” part comes in, so I took my time and made sure it was straight.
Next, I took that sharp craft knife (again, being super careful!) and secured it inside the casing, right next to the slit. I used a generous amount of that super-strong glue to make sure it wouldn’t budge.
I waited for the glue to dry completely. Patience is a virtue, or so they say. I’m not very patient, so this was the hardest part.
Once the glue dried.I gave the whole thing a quick sand down with the sandpaper, just to smooth out any rough edges and make it look a little less… homemade.
The Final Result
And that’s it! My very own, handmade disposable film cutter. I tested it out, I successfully cut the film. It’s not the prettiest thing in the world, but it works! Now I can easily cut my film, I feel a little bit proud of myself, I have to say. Plus, I saved some money by not buying a fancy one. Win-win!
Maybe I modify that look, I will paint it later.