So, I was messing around with this film decal thing. It’s basically like those temporary tattoos you used as a kid, but you can print your own designs on them. I saw some people online making cool stuff with it, so I thought, why not give it a shot?
First, I had to get the materials. I ordered some film-free decal paper online – that’s the special paper you need for this. It felt kind of weird, all smooth and plasticky. I also needed my trusty old laser printer. Inkjet wouldn’t work for this, apparently.
- Film-free decal paper
- Laser printer
Next up, the design. I wanted to make some custom stickers for my water bottle. It is kind of boring. I found some free images online and arranged them in a simple design software. Nothing fancy, just some basic shapes and text.
- Find free images online.
- Make a basic design using a simple software.
Printing was the tricky part. I had to make sure I was printing on the right side of the decal paper, which was not immediately obvious. I wasted a sheet figuring that out – oops! But once I got it right, the design printed out pretty nicely. It looked a bit dull, but I figured that was normal.
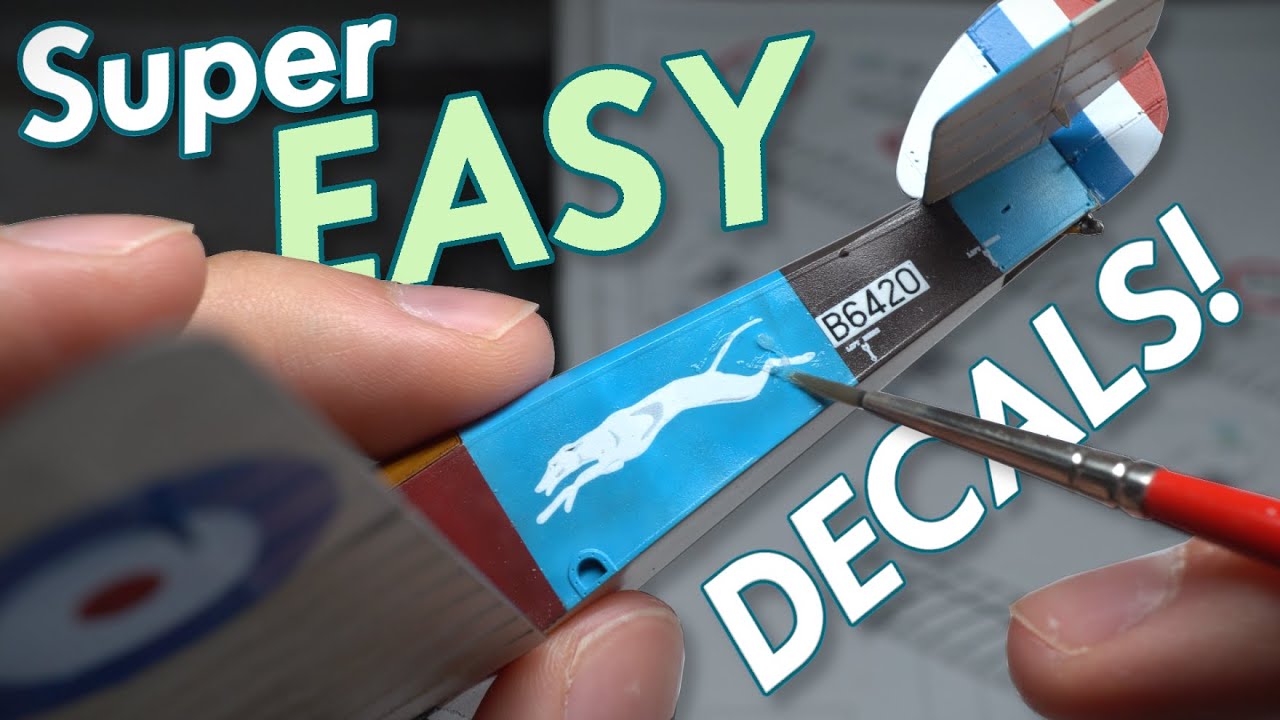
Then came the fun part – applying the liquid decal film. This stuff is like a clear, sticky liquid that you brush over the printed design. You gotta be careful here because you can’t really control it. I definitely went outside the lines a bit, but it’s all good, it dries clear. And you gotta let it dry completely, which took a while. I’m not the most patient person, so that was tough.
- Brush the liquid decal film on top of the printed design.
- Wait for the film to completely dry.
After it dried, I cut out the individual decals. I just used regular scissors. And now for the moment of truth – sticking them on! You gotta wet the back of the decal, just like those temporary tattoos. Then you slide off the backing paper and carefully stick the decal where you want it.
- Cut out the decals using scissors.
- Wet the back of the decal to loosen the backing paper.
- Slide off the paper and place the decal on the desired surface.
I was a little worried about air bubbles, but I managed to smooth them out okay. It wasn’t perfect, but it worked! The colors looked a lot more vibrant once they were on the bottle. They stuck on there really well. I was actually surprised how good they looked, considering it was my first try. It is way more fun than before!
I’ve been using the bottle for a few days now, and the decals are holding up great. They are totally waterproof. I’ve even washed the bottle a couple of times, and they haven’t peeled or faded. This is really cool. It is kind of fun to make your own thing. So overall, I’d say this was a successful little project. It was a bit of a learning curve, but it was fun, and now I have a bunch of unique stickers. I’m already thinking about what I want to make next. Maybe some for my laptop? Or maybe I’ll try to sell some. We’ll see!