Okay, so I’ve been messing around with this flexible transparent LED film display thing, and let me tell you, it’s pretty cool, but also a bit of a head-scratcher at times. I wanted to share my whole journey, from unboxing to finally getting it to work, just in case anyone else is diving into this.
Getting Started: Unboxing and First Impressions
First thing, I got this roll of film – looked kinda like a giant roll of fancy window tint. Super thin, and you could see right through it. I was a bit nervous handling it, felt like I could easily crease or damage it. I carefully unrolled a section, making sure I had a clean, flat surface to work on.
The Power Struggle: Figuring Out the Connections
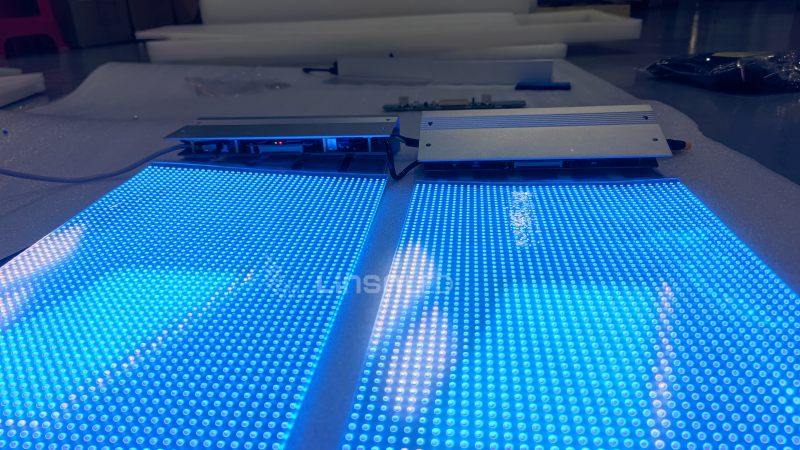
Next up, figuring out how to power this thing. There were these tiny, almost invisible wires along the edges. I’m no electrician, so this was intimidating. I grabbed my multimeter – best tool ever, by the way – and started poking around. The instructions that came with it were, well, let’s just say not super helpful. Lots of broken English and diagrams that looked like they were drawn by a toddler.
- First attempt: Total failure. Nothing lit up. I was pretty sure I had fried it.
- Second attempt: I swapped the positive and negative leads. Still nothing. Started to sweat a bit.
- Third attempt: I realized I was using the wrong voltage on my power supply. Duh! Adjusted it, and… boom! A faint glow. Progress!
The Content Conundrum: Getting Something to Display
Okay, so it powered on, but it was just a blank, glowing sheet. Now, how to get some actual images or videos on it? This is where things got really tricky. The film came with a tiny controller box, with some obscure ports on it. After a lot of Googling and forum-diving, I figured out I needed some specific software to convert my video files into a format this thing could understand.
It has a very special software, so I downloaded the software, and connected the little controller box to my computer. I loaded up a simple test video – just a scrolling text animation – and hit the “upload” button.
Fingers crossed!
Success (Finally!): Seeing It in Action
It took a few tries, some more fiddling with settings, and a lot of patience, but finally, I saw my text scrolling across the transparent film. It was seriously awesome! The image was surprisingly clear, and the fact that it was see-through was just mind-blowing.
Lessons Learned: What I Wish I Knew Beforehand
- Be patient: This isn’t plug-and-play. It takes time and experimentation.
- Double-check everything: Voltage, connections, software settings… everything!
- Don’t be afraid to ask for help: Online forums and communities are your friends.
- Handle with extreme care:This film is delicate!
Overall, it was a challenging but ultimately rewarding experience. I’m still exploring all the possibilities of this technology, but I’m already dreaming up all sorts of cool projects I can use it for. This flexible transparent LED film stuff is definitely something to keep an eye on!