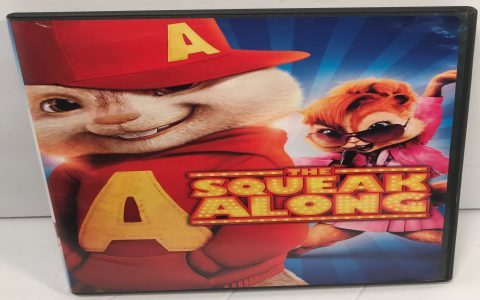
Okay, folks, let’s dive into my little project today – messing around with the movie poster for “Alvin and the Chipmunks: The Squeakquel”.
So, I started by just staring at the poster, you know, really taking it in. The colors, the layout, the chipmunks’ poses… everything. I wanted to get a good feel for it before I did anything.
Next, I opened up my trusty image editor. Nothing fancy, just something I’m comfortable with. Then, I imported the poster image. It was go time!
Playing Around
First thing I did was play with the colors. I bumped up the saturation a bit, making everything a little more vibrant. Those chipmunks really popped!
- Increased saturation
- Adjusted brightness and contrast
- Tried a few different color filters (didn’t like most of them!)
After the colors, I focused on the text. I thought about changing the font, but honestly, the original one worked pretty well. So, I just tweaked the spacing a little and added a subtle drop shadow to make it stand out more.
Then came the fun part – messing with the chipmunks themselves! I experimented with a few things:
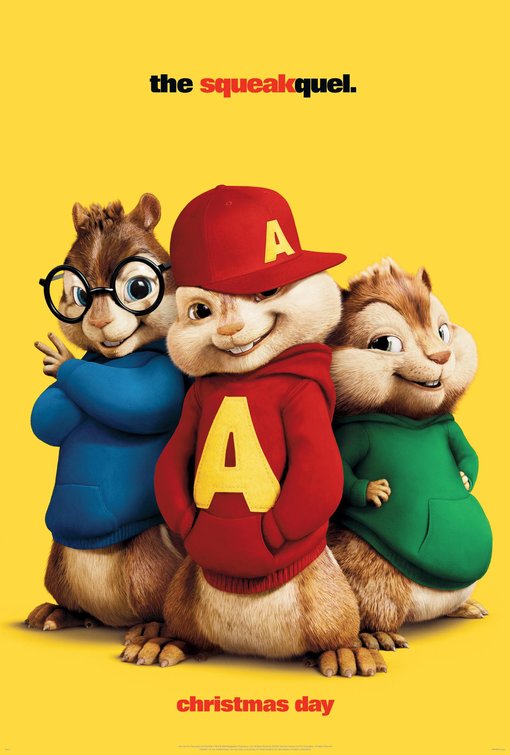
- Tried to make Alvin look even more mischievous (subtle eyebrow raise)
- Gave Simon a slightly smarter look (adjusted his glasses a tiny bit)
- Made Theodore even cuter (if that’s even possible!)
I spent a good chunk of time just tinkering. Moving things around, trying different effects, and basically just seeing what worked and what didn’t. It was all about trial and error.
Finally, I saved my “masterpiece”. I compared it to the original, and you know what? I was pretty happy with it! It wasn’t a huge change, but I felt like I’d put my own little spin on it.
That’s it! Just a simple, fun little project. It’s amazing what you can do with a little time and some basic tools. It always feels good that I made it.