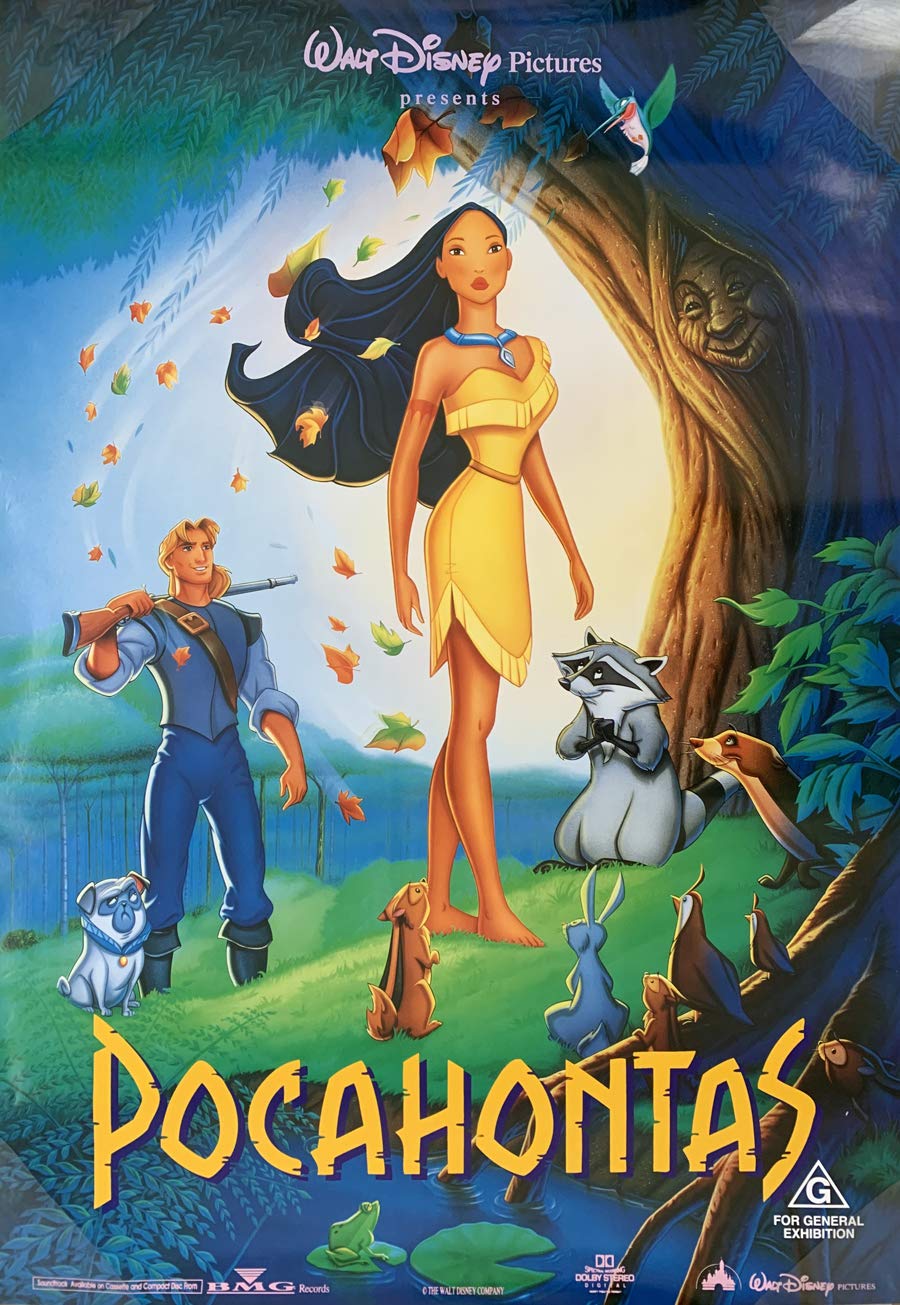
Okay, so I wanted to make a movie poster for “Pocahontas” because, well, I just really love that movie! I’m no pro, just doing this for fun, but I thought I’d share how it went.
Getting Started
First, I needed some inspiration. I spent a good chunk of time just looking at existing “Pocahontas” posters and other Disney ones, too. Gotta get those creative juices flowing, you know?
Then, I started collecting images. This took a while! Finding good quality pictures of Pocahontas, John Smith, the whole gang – it’s not as easy as you’d think. I wanted some nature shots, too, to really capture that Virginia wilderness vibe.
Putting it Together
I used some free online editing software, something simple.I’m not dealing with anything super fancy.
- I picked a background image first – a nice, lush forest scene.
- Then, I carefully placed the character images. Pocahontas had to be front and center, of course!
- I played around with the layout a LOT. Moving things here, resizing them there. It’s like a puzzle, trying to make everything fit and look balanced.
The Text
The title was next. “Pocahontas” – big and bold. I tried a few different fonts, finally settling on one that felt kinda…historical, but still Disney-ish, you get me?
And I had to add a tagline! Something short and * needed to be perfect.
Finishing Touches
This is where I spent ages just tweaking things. Adjusting the colors, adding some subtle shadows, making sure everything was just right. It’s the little details that really make a difference, I think.
And…done! It’s not perfect, of course, but I’m pretty happy with how it turned out. It was a fun little project, and I learned a thing or two along the way. Maybe I’ll try another movie poster next.