Okay, so I’ve been sweating like crazy lately, and my energy bills? Don’t even get me started. My apartment windows face the sun pretty much all day, turning my place into a sauna. I figured there had to be a way to block out some of that heat without living in a cave, so I started looking into window films.
First, I measured my windows. This was pretty straightforward – just grabbed a tape measure and jotted down the width and height of each one. I made sure to double-check everything, because, you know, “measure twice, cut once” is a thing for a reason.
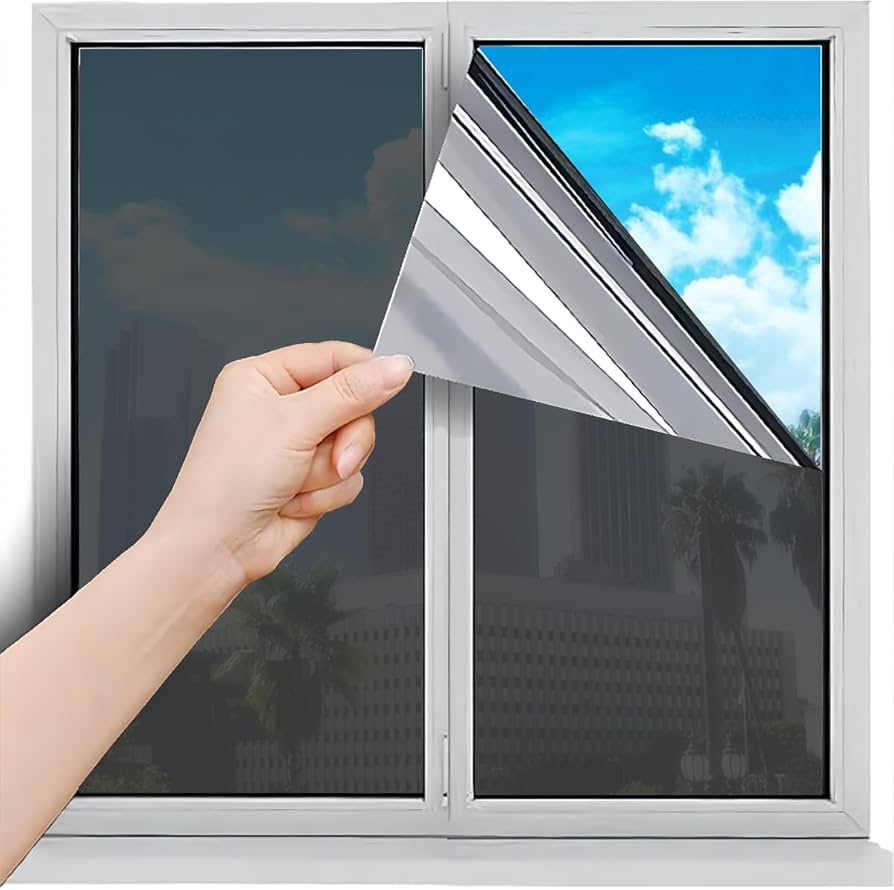
Choosing the Right Film
Then came the fun part (not really): researching all the different types of window film. There were so many! Some were super dark, some were almost clear, some were reflective… it was overwhelming. I ended up going with a “solar control” film that promised to block a good amount of heat and UV rays without making my apartment too dark. It had a slightly reflective look, which I wasn’t crazy about at first, but hey, function over form, right?
The Installation Process
Next, I gathered my supplies. I bought the film online, and it came with a little squeegee, but I also grabbed a spray bottle, some soapy water, a utility knife, and a straight edge (a ruler worked fine). Oh, and lots of paper towels!
- Cleaned the windows like my life depended on it. Any little speck of dust or dirt will show up under the film, so I scrubbed and wiped until they were sparkling.
- Mixed up the soapy water. Just a few drops of dish soap in the spray bottle, filled with water. This is what helps the film slide around and stick to the window.
- Cut the film. I added an extra inch or two to each side of my window measurements, just to be safe. It’s easier to trim off excess than to deal with a piece that’s too small.
- Sprayed the window with the soapy water. Really soaked it. Then I sprayed the back of the film (the side that goes against the glass) after I peeled off the protective backing. This part was a little tricky – the film is super staticky and wants to stick to everything!
- Applied the film to the window. I started at the top and slowly worked my way down, using the squeegee to push out the air bubbles and excess water. This took some patience, and I definitely had to re-spray a few times to get it right.
- Trimmed the excess film. Using the straight edge and the utility knife, I carefully cut along the edges of the window frame. This was probably the most satisfying part.
The Results
Honestly, it took a couple of hours, and my arms were a little tired, but it was totally worth it. The difference is noticeable! My apartment is significantly cooler, and I’m hoping to see a drop in my energy bills next month. Plus, the film provides a bit more privacy, which is a nice bonus. If you’re looking for a way to beat the heat and save some money, I’d definitely recommend giving window film a try.
Just remember to prepare tools before starting.